
Knowing how to check oil in a car is one of the most essential maintenance skills every driver should master. Engine oil is the lifeblood of any vehicle it lubricates moving parts, reduces friction, prevents overheating, and helps keep the engine clean. Without proper oil levels, an engine can suffer severe damage, leading to costly repairs or even complete failure. Regularly checking the oil ensures that the engine runs smoothly and efficiently. This guide explains step-by-step how to check oil, what tools are needed, how to interpret oil color and texture, and when to change it. Whether driving a new car or an older model, understanding this simple process can extend the life of the vehicle and improve performance.
Why Checking Oil Is Important
Engine oil plays a critical role in maintaining the health of a vehicle’s engine. It lubricates internal components, preventing metal parts from grinding against each other. It also helps regulate temperature by carrying heat away from the combustion chamber and cleaning the engine by trapping dirt and debris. Over time, oil breaks down and loses its effectiveness, which can lead to increased friction, overheating, and engine wear. Regularly checking the oil ensures that the engine always has the right amount of clean oil to function properly. Neglecting this simple task can result in reduced performance, higher fuel consumption, and expensive mechanical problems.
When to Check Oil
The best time to check oil is when the engine is cool or has been off for at least ten minutes. This allows the oil to settle in the oil pan, giving a more accurate reading. Most experts recommend checking oil at least once a month or before long trips. However, older vehicles or those with high mileage may require more frequent checks. Drivers should also check oil after noticing warning signs such as the oil pressure light turning on, unusual engine noises, or visible smoke from the exhaust. Regular checks help detect leaks or oil consumption issues early, preventing potential engine damage.
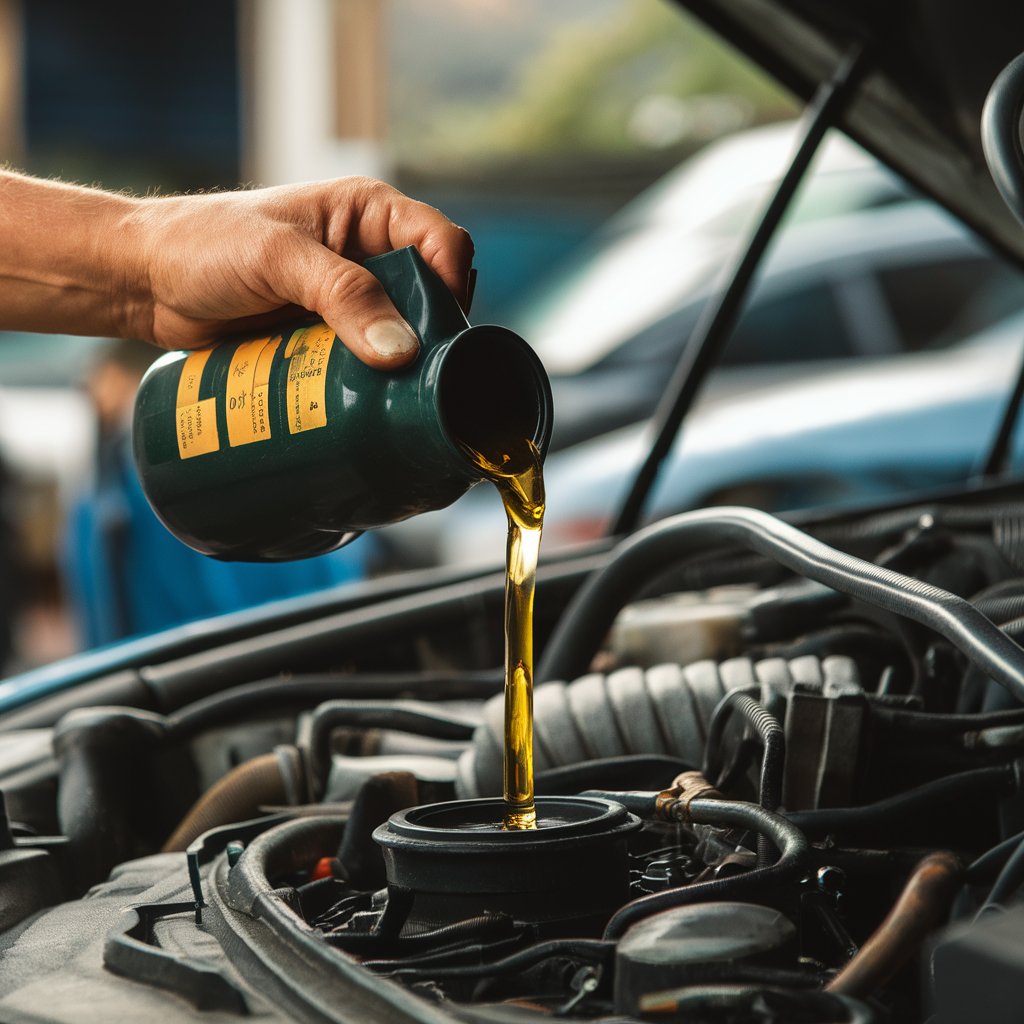
Tools Needed to Check Oil
Checking oil requires minimal tools, making it one of the easiest maintenance tasks. The main tool is the oil dipstick, which is built into most vehicles. Some newer cars have electronic oil monitoring systems, but manual checking remains the most reliable method. A clean cloth or paper towel is also needed to wipe the dipstick. For vehicles with low oil levels, having a bottle of the correct engine oil type on hand is useful for topping up. Always refer to the vehicle’s owner’s manual to confirm the recommended oil grade and capacity.
Understanding Oil Color and Texture
The color and texture of engine oil reveal much about the engine’s condition. Clean oil is typically golden or amber and flows smoothly. As oil ages, it darkens due to heat and contaminants. Dark brown or black oil is normal after extended use but should be changed according to the manufacturer’s schedule. However, if the oil appears milky or foamy, it may indicate coolant leakage into the engine, a serious issue requiring immediate attention. Similarly, gritty oil suggests dirt or metal particles, which can cause internal wear. Regularly checking oil color and texture helps detect problems early and maintain engine health.
Common Mistakes When Checking Oil
Many drivers make simple mistakes that lead to inaccurate readings or unnecessary issues. Checking oil on an uneven surface or immediately after turning off the engine can give false results. Using the wrong type of oil or overfilling the engine can also cause damage. Another common mistake is ignoring the oil change schedule, assuming that checking oil alone is enough. While checking oil ensures proper levels, regular oil changes are equally important to maintain lubrication quality. Avoiding these mistakes ensures accurate readings and prolongs the engine’s lifespan.
How Often to Change Oil
The frequency of oil changes depends on the vehicle type, driving conditions, and oil quality. Traditional advice suggested changing oil every 3,000 miles, but modern engines and synthetic oils can last between 5,000 and 10,000 miles. Drivers who frequently drive in extreme temperatures, heavy traffic, or dusty environments may need more frequent changes. Always follow the manufacturer’s recommendations listed in the owner’s manual. Keeping a record of oil checks and changes helps maintain consistency and ensures the engine remains in top condition.
Conclusion
Learning how to check oil is one of the simplest yet most important steps in vehicle maintenance. It ensures that the engine remains properly lubricated, efficient, and protected from wear. Regular oil checks prevent costly repairs, improve fuel economy, and extend the life of the vehicle. By following the correct procedure and paying attention to oil color, texture, and level, drivers can maintain their engines in peak condition. A few minutes spent checking oil can save thousands in repair costs and keep the car running smoothly for years to come.
FAQs
1. How often should I check my car’s oil?
It’s recommended to check your oil at least once a month or before long trips. Older vehicles or those with high mileage may require more frequent checks.
2. What happens if I drive with low oil?
Driving with low oil can cause friction, overheating, and severe engine damage. Always top up oil when the level is below the minimum mark.
3. What color should engine oil be?
Fresh oil is amber or light brown. Dark oil is normal after use, but milky or gritty oil indicates contamination or mechanical issues.
4. Can I check oil when the engine is hot?
It’s best to wait at least ten minutes after turning off the engine to allow the oil to settle for an accurate reading.
5. What type of oil should I use for my car?
Always use the oil grade recommended in your vehicle’s owner’s manual. Using the wrong oil type can affect performance and cause damage.